Saturday, July 24, 2010

Three Bridges

I have decided to call this corner Three Bridges as there will be three bridges here when all is done.

The Bridge on the left (which will be the center bridge when all is done) is a wooden truss bridge from Campbell, I have about five hours into it so far. The one on the right is one I have built from scratch using the templet from the Campbell's kit. I need to get it painted and then glued in place. This will be a spur to a mine eventually.


Kind of a birds eye view looking down on what will be a river and the mine site. The first layer of water is in the falls area, once I get the bridges all done and installed the rest of the water can be added. I am using clear calk adhesive which will look like fast running water when I'm all done. Thats the plan at least.
All this working on the railroad couldn't be possible in the 100 deg F days we are having if it weren't for this new AC. Thanks Dad & Mom for the early Christmas gift. It's a pleasant 79 deg inside and 100 out side.


Saturday, July 3, 2010

Building some scenery.

Because of the difficulty in getting to the wall to paint back ground scenery Karen & I purchased two Woodland Scenes back grounds and mounted them to poster board. I then cut out the sky section because I plan on painting in my own clouds. By mounting it to poster board it gives it some strength to bend around the corner so there is no sharp corner but just one smooth curve of scenery.
After getting the backdrop mounted to the wall with spray adhesive I started adding the scenery to tie it all together. This is the first part of carving the foam to look like the rocks and river bank that will flow out of the backdrop into the scenery.
After carving the foam board it's starting to take shape. Next will come the first layer of paint.
This is two colors of acrylic paint (burnt sienna & golden brown) mixed to give the base color of the rocks and river bottom. I'm hoping to get everything painted and then add the water in such a way that it looks like its flowing out of the backdrop into the for ground. The section of foam board scene here crossing the river will be two of three truss bridges.

Helping Hands

One of the great things I love about model railroading is having the chance to meet new friends. It's even better when those friends lend a helping hand to work on the railroad. Such was the case today when Bryan and Bob came up from Orangevale to help out. It was great fun and they were able to get two sections of roadbed laid out which will be a small freight yard while I worked on some scenery.

This is Bryan laying out what will be the east end of the yard. He is laying one of two turnouts off of the mainline.

Here is Bob working on the center of the same freight yard. Bob is working back to the west end which will have two turnouts as well off of the mainline.
Here is the two sections of roadbed that will make up the freight yard. I'm not sure what this area will be called just yet but when it's all done I'm sure a name will come to me. The track next to the wall is the up hill climb to the spiral helix.
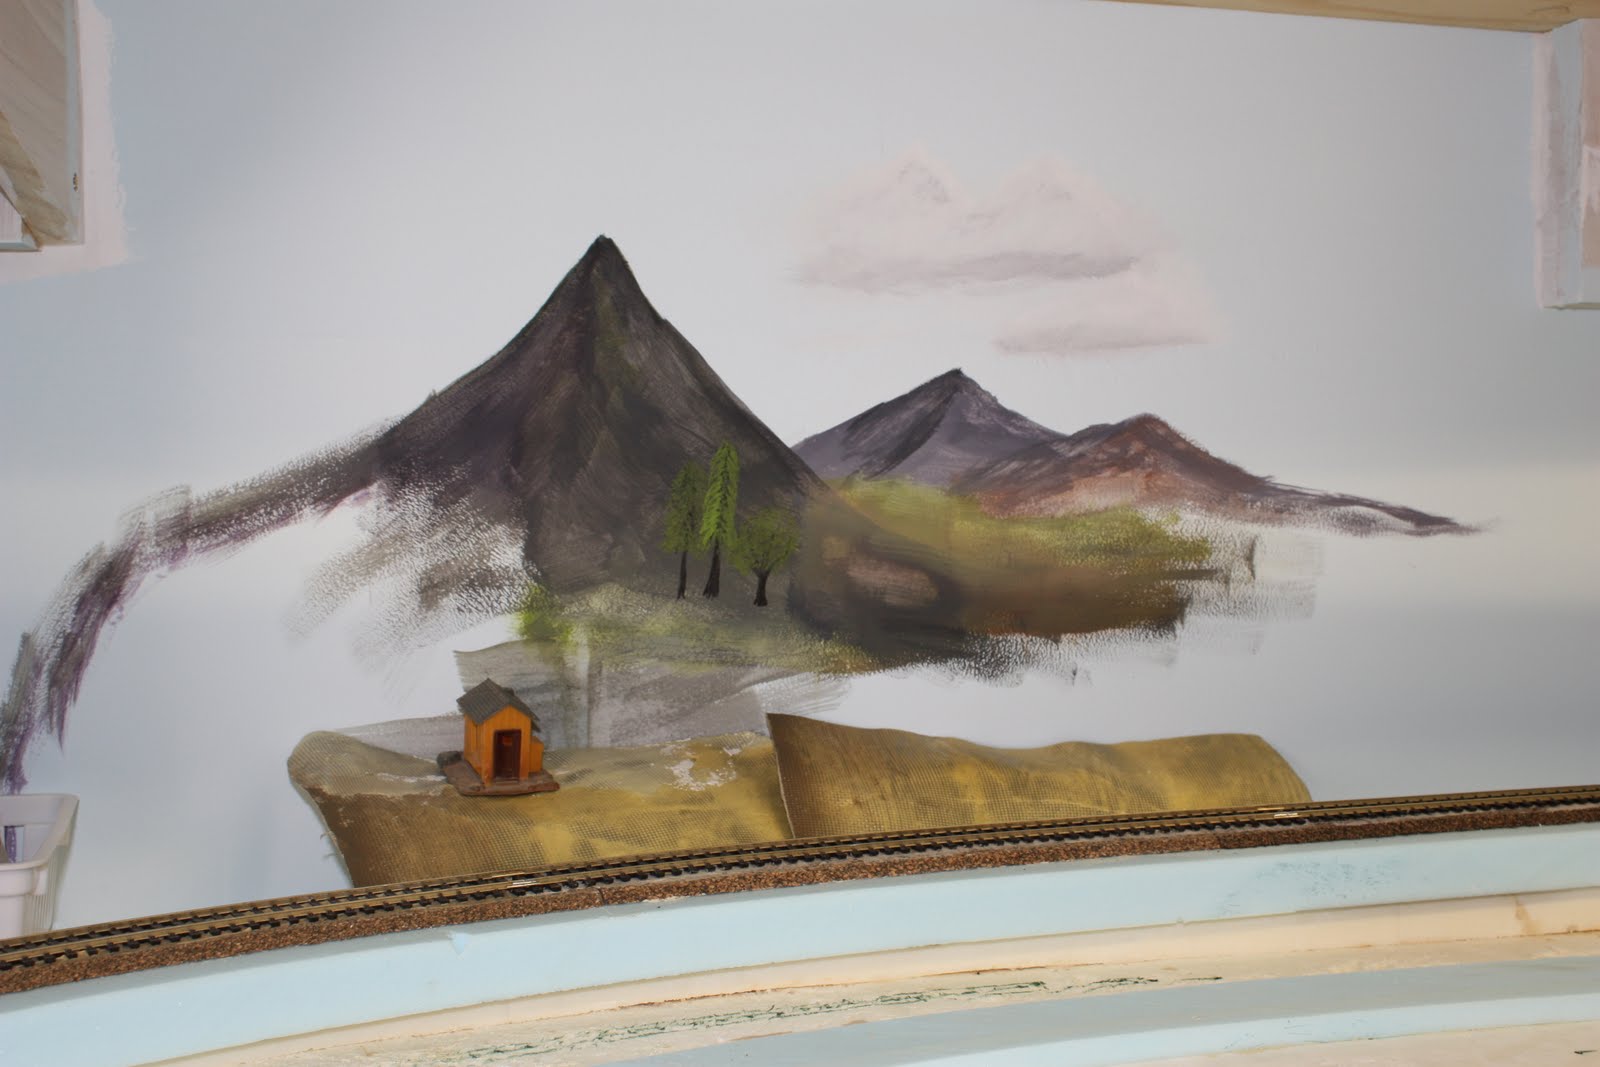
This is some of my handy work at painting a back ground scene. I hope to be able to paint most of the back ground scenes.

Wednesday, June 16, 2010

Progress with a spiral helix

I have been figuring out a spiral helix that will allow the trains to be seen all the way up the helix to the upper level. It starts out at a 36" radius and ends up at about 26" radius.


I used plywood for the sub-road bed along with foam cut to 1/2" thickness. The next step will be to glue the cork roadbed and then lay the track. It will be four loops when completed and clime about 18" when done. Planning on putting scenery that will have tunnels and bridges to depict the Tehachapi loop area.

Sunday, May 23, 2010

Benchwork and Backdrop


I now have a 10'x 10'6" room to build my railroad. I have painted the walls a sky blue and have the bench work roughed in as you can see in the photos. The benchwork is mostly an open L-girder design with 1/2" plywood on top to support the foam bard. I am planing on using the foam board to allow me to sculpt terrain and finish it off with scenery so I don't have to use very much plaster to build the landscape. I am also going to be using geodesic foam scenery that I have already started using on the first layout that has now been completely scraped except for the scenery that I had built.

This is a section of the benchwork that is 30" wide and 35" high. The upper deck is 55" high and 19" wide this will all be covered by foam board and the sub roadbed will be foam as well.


This section has the foam board applied and is ready for the sub roadbed to be added. I am using a type of foam board that is not exactly what I wanted but I am hoping to get the extruded foam board that is what most modelers use. This type has a foil layer that has to be removed in order to have access to the foam to sculpt contours and ditches to give the landscape some life.

The next step is to start painting the back drop before I get to much further along and it become more difficult to paint.

Sunday, May 2, 2010

Major Construction

After some thought and finally getting some time to start I have decided to start over on my layout. So I am building a railroad room in the garage to build a double deck railroad. It's a 10' x 10' room with a storage deck above it. Once the construction of the room is finished I will have to build the bench work and start laying out the roadbed for the railroad.
Very special thanks to my son Bradly! Without his help I couldn't have done this. I would still be trying how to figure out how to build the walls so I could have a storage space above the train room.
Brad hanging the joist for the storage area overhead.
This lay out is history but I will be using the scenery on the new lay out.


The goal is to have a mining and logging theme railroad set in the late 1930's using the Verde Tunnel & Smelter railroad as the main inspiration. I will have a more northwest scenic theme so it will not be a model of the Verde Valley as such. Not enough trees for me.

It will have two decks one at 35" hight and one at 54" this will allow for more railroad in less space. I want to model Hope Well and some of the smelter at Clarkdale as well as a logging branch. Maybe if I can fit it in the mainline will be Ash Fork depicting the transfer of ore from Clarkdale to the AT&SFP.


Monday, March 8, 2010

The past two weeks have been busy getting some color on the rock face of the mountain as well as getting the bridges installed and spending time at Bryan's helping with his layout. Also was sick with a sinus infection but feeling much better now.

All the bridges are installed and working very well. Just need to do some detailing and finish adding some paint to the rocks, ground cover, ballast and some trees.

Started installing a can motor in my 4-6-2 steam loco. I used the rotor of the old motor so I could use the drive gear. I decided to use parts of the old motor frame to hold the shaft and and gear at the correct angle so they would mesh correctly.

I dismantled the windings and just used the front motor mount/bearing assembly to hold the gear at the proper angle.
I then used a wire butt splice that I cut to the correct length and soldered the motor shaft to the old motor shaft/gear. This is the new can motor and gear/shaft mounting assembly clamped waiting for the Gorilla glue to dry. Once it's set up the motor gear assembly will be ready to install into to frame.
Then the Digital Sound Decoder (DSD) will be installed and wired to allow for DCC control of the loco. I have a speaker to install as well which will give this steam locomotive life. This is a Tsunami TSU-1000 medium steam service decoder. So by the end of the week should have an operating steam loco video to post.