


.JPG)
.JPG)
.JPG)


 Here I am using steal weights to hold the foam board in position until the Liquid Nails sets up. I use round toothpicks as nails to also help hold the foam in place. There are two 1" halves of foam board cut at a 2 % grade as well as cut every three to four inches about half way through on the vertical to allow it to bend around the radius of the curves. Once the glue is set I will sand off the top to make it smooth and then glue cork roadbed to the foam board. Then the track will be glued to the cork. I am using the same peaces of foam board from the original incline on this new layout so I will have to sand the top smooth before glueing the cork down to it.
 This is the new brackets for the benchwork. The horizontal boards are 3/4" cabinet grade plywood screwed to the wall where the studs are. The shelf brackets are also made of 3/4" plywood with the bottom bracket 22" deep and the top bracket for the shelf and lighting valance are 18" deep.
 The sub layer is 1/2" plywood that will be covered with 1" blue foam. The background is vinyl flooring mounted with the back facing outward for painting.
 Here you can see the vinyl flooring as it is clamped as the glue dries.
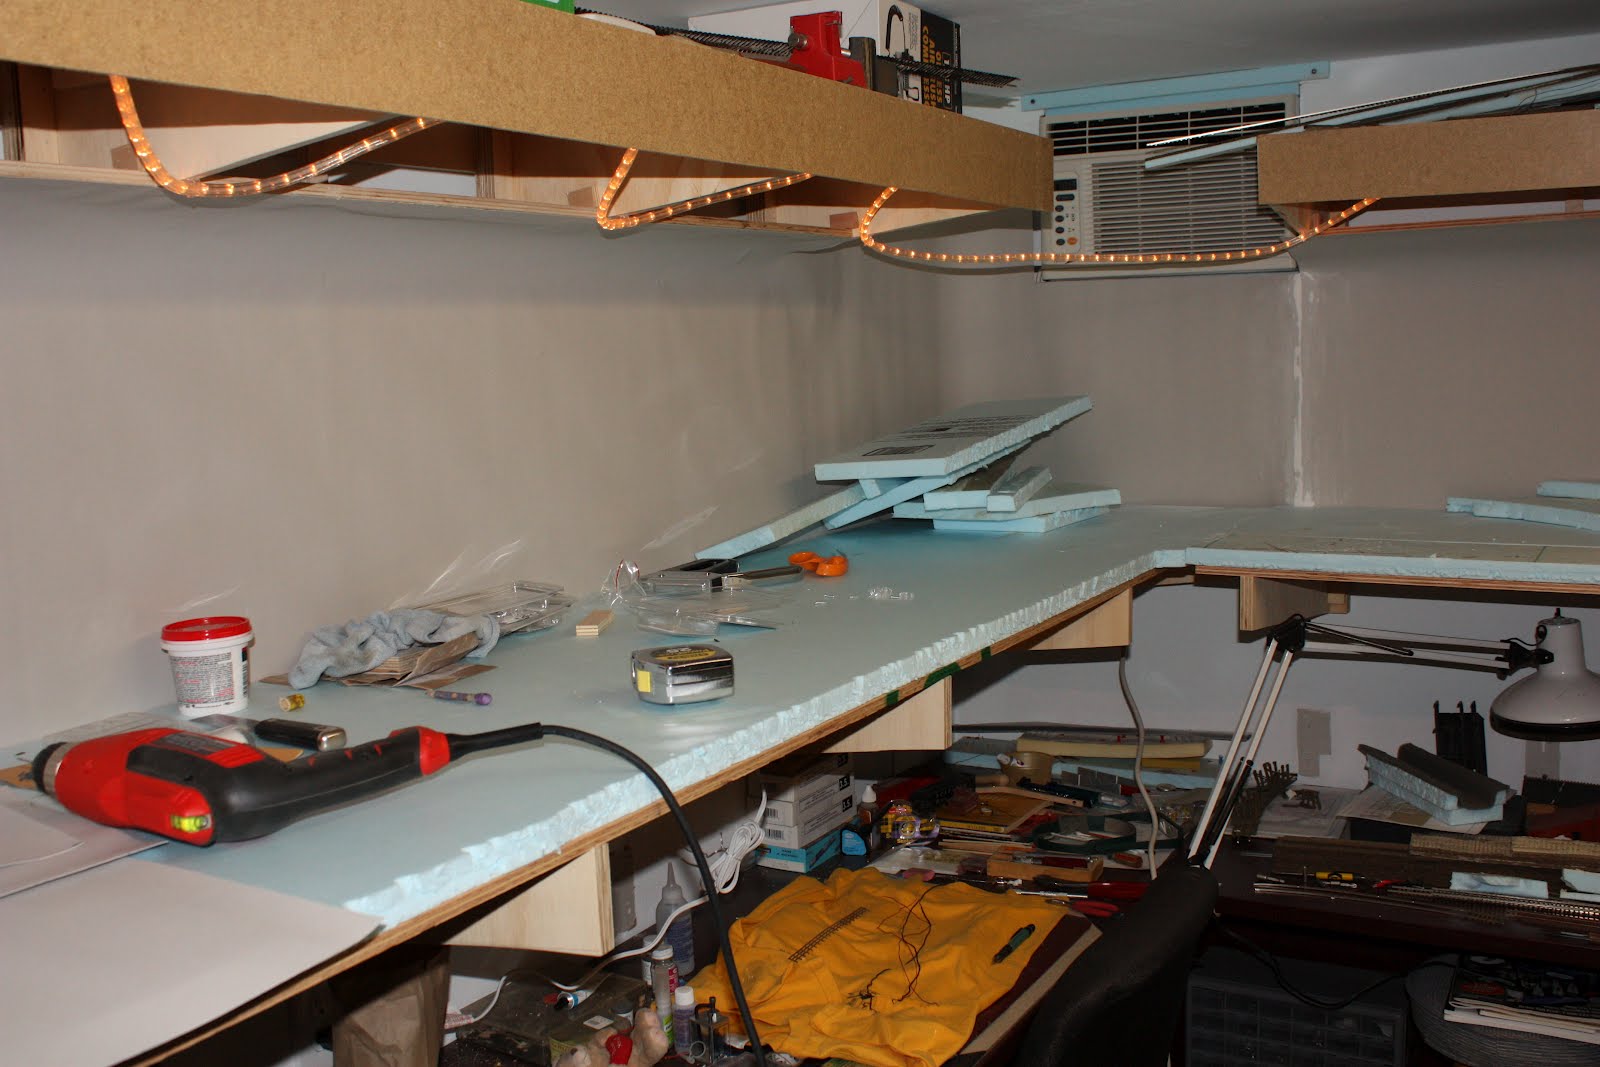
 The shelf is 22" deep and will be covered by blue foam which can be shaped for scenery. The white line is the vinyl spackling that needs to be sanded.
 There will be a valance around the top that will hide the rope light and finish off the shelf.
 One of the reasons for redoing the layout was to allow for the desk I use as a workbench to be in the same room as the layout. This allows for working on locomotives as well as rolling stock and building structures for the layout in a climate controlled room.
 Here I have removed the track and DCC control system. Getting ready to remove the section of benchwork so I can start installing the new benchwork.
 After cutting through the foam board this section is ready to be removed. All of this section will be removed and the new benchwork will be installed in it's place.
 This is the new benchwork design. The lower shelf will be 48" in height and 24" deep. The upper bracket's are 18" deep and are for the valance to mount the lighting for the layout as well as a storage shelf on the top.